AMP: 144
Location: Papago Fwy and 7th Ave, Phoenix
After I-17, we’ll get to the 7th Avenue interchange, visible to the right. 7th STREET is coming up in 3/4 mile, which is only a little bit obnoxious. In two miles we’ll come to the Piestewa/SR 51 and the Red Mountain/Loop 202
AMP: 144
Location: Papago Fwy and 7th Ave, Phoenix
As we cross under 5th Ave and prepare to enter a short tunnel, we’re 1.75 miles from the 51 and 202
AMP: 145
Location: Papago Fwy and 7th St, Phoenix
As we pop out of the short tunnel and cross under 7th Street, we’ll get serious signage for the 51 and the 202. Left lane for the HOV exit for Loop 202, right lanes for the 51 and the 202, middle lanes for the 10 east
AMP: 145
Location: Papago Fwy and 7th St, Phoenix
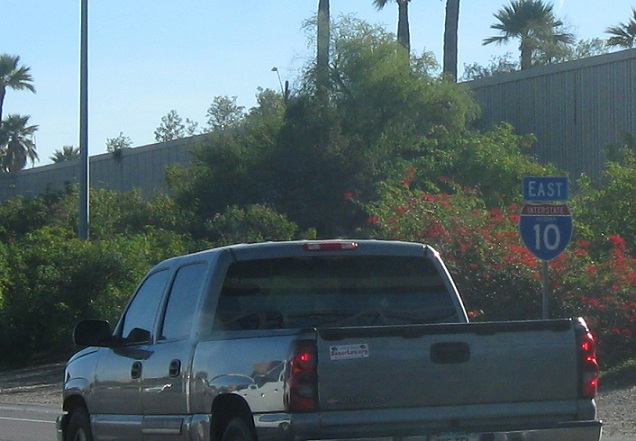
Reassurance shield after the 7th St interchange
AMP: 146
Location: Papago Fwy and 7th St, Phoenix
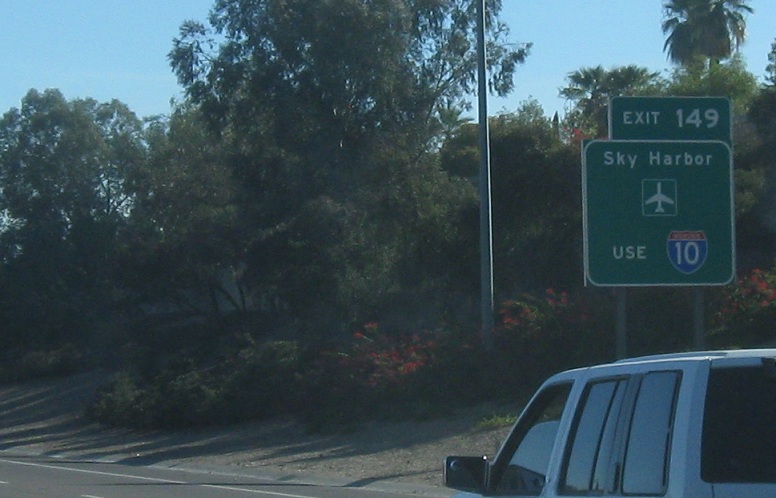
Follow I-10 to get to Sky Harbor as opposed to taking the 202 to the 143
AMP: 146
Location: Papago Fwy and 16th St, Phoenix
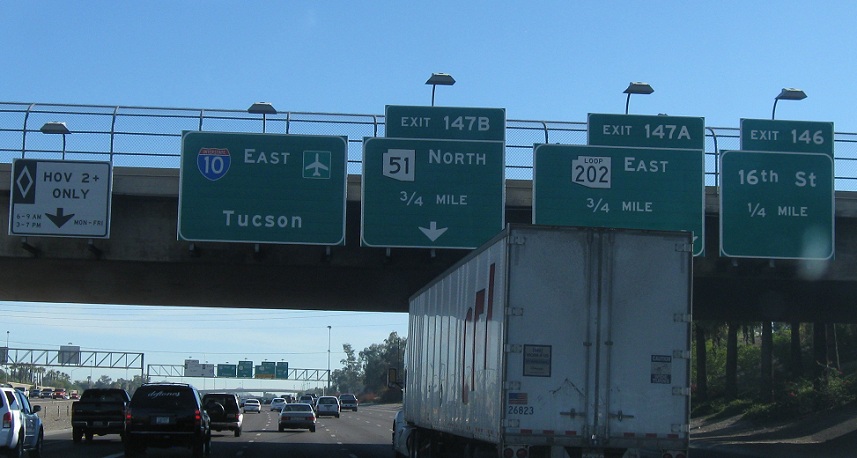
3/4 mile to the freeway splits
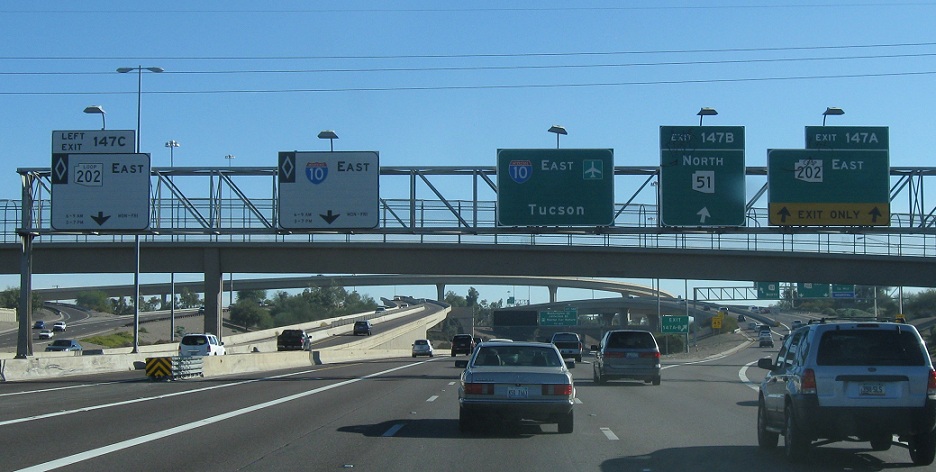
AMP: 146
Location: Papago Fwy and 16th St, Phoenix
Right lane exits 16th Street, then the right two lanes will dump to the Red Mountain. The third lane in will carry the Piestewa, with the left two carrying the Papago. Left HOV heads towards 202 east, while right HOV stays on I-10
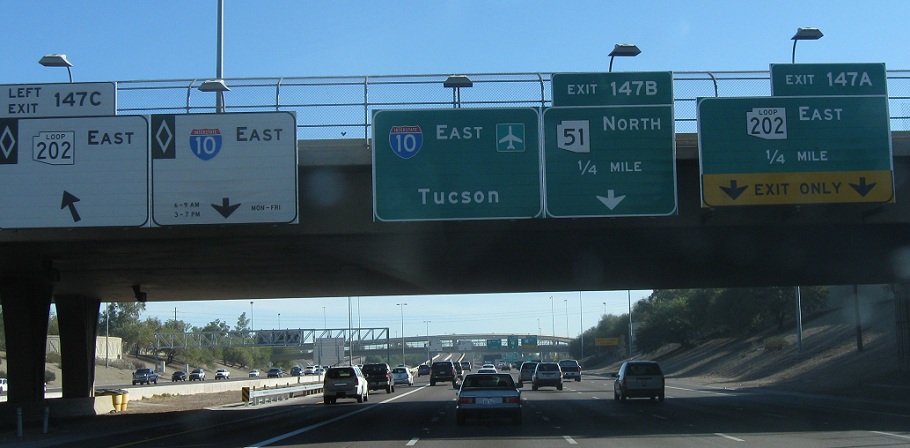
AMP: 147
Location: Papago Fwy and Piestewa Fwy, Phoenix
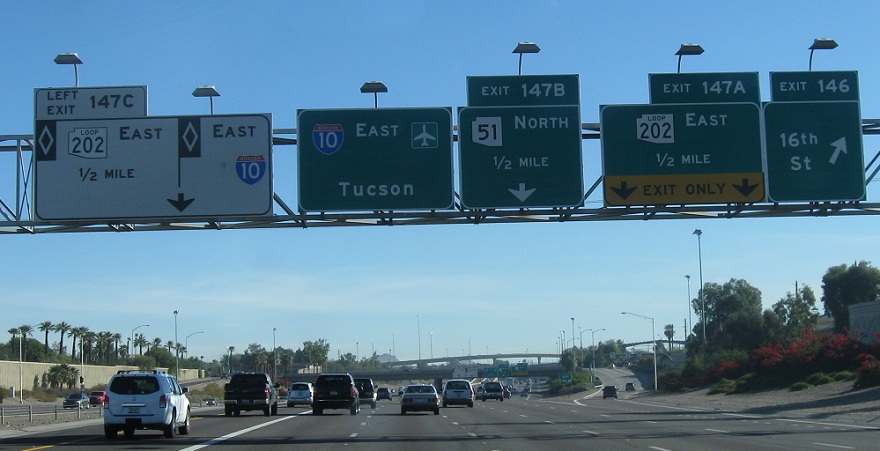
1/4 mile until the freeways split. The 202 HOV lane will leave now
AMP: 147
Location: Papago Fwy and Piestewa Fwy, Phoenix
Exit for SR 51 North (Piestewa Fwy), which heads straight north to Loop 101. Exit further right for the 202 (Red Mountain Fwy), which is a beltway around the east valley. “Mesa” would be an appropriate control city.
 E to I-17/US-60, W to Loop 101